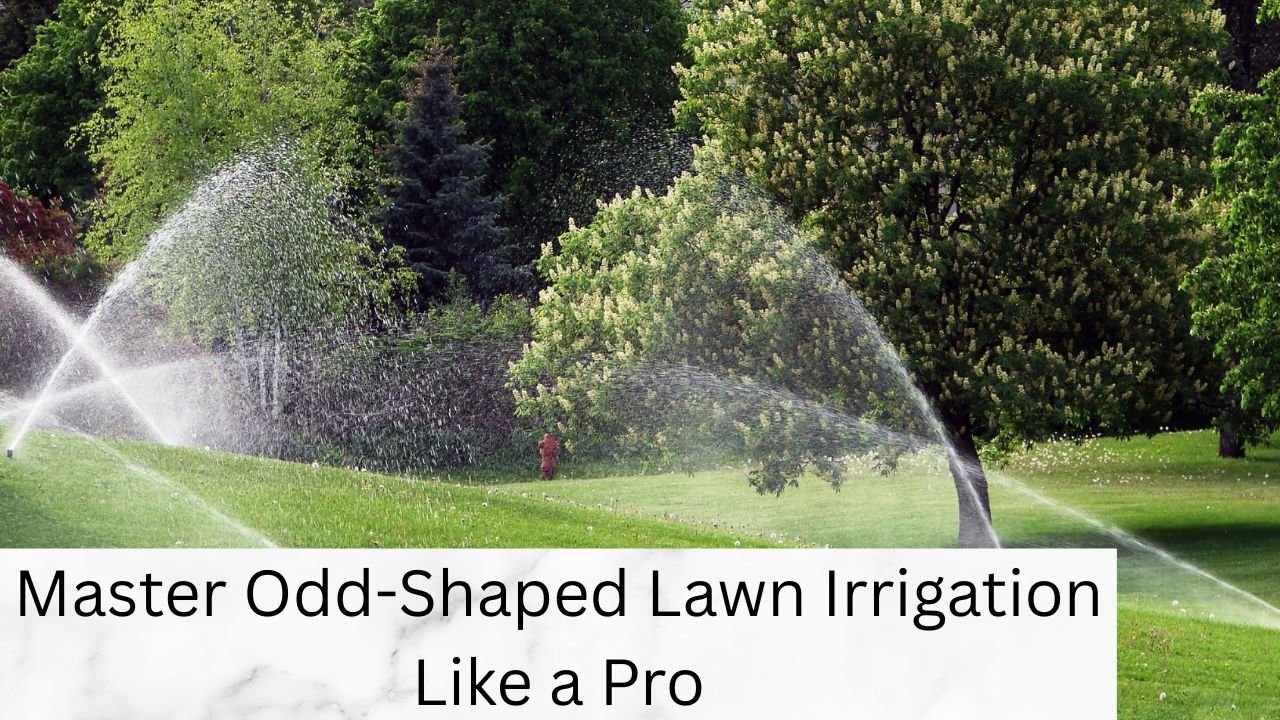
Introduction: Master Odd Shaped Lawn Irrigation
Planning odd shaped lawn irrigation ain’t like working with a perfect square. Most homeowners just wing it—toss in a few heads, hope for the best. The result? Frustrating dry corners, soggy walkways, wasted water, and higher bills.
This guide fixes that. We’ll walk you through the exact steps to design an efficient sprinkler layout—even for the weirdest yard shapes. Whether you’ve got L-curves, sloped beds, or a winding turf ribbon hugging your patio, this system helps you water every inch, without waste.
Why Odd-Shaped Lawns Are a Headache (and How to Beat Them)
Most sprinkler systems are made for rectangles and circles. Odd-shaped lawns break that mold.
- A full-circle head in a corner? It’ll spray the fence, the house, and your neighbor’s cat.
- Put square-spaced heads in a curved bed? You’ll get triangular dry zones.
That’s why cookie-cutter layouts flop. Odd lawns need customized spray patterns, pressure balancing, and flexible hardware. Let’s break it down.
Step 1: Map Your Odd Yard with Tools You Already Have
No need for fancy CAD software. Just:
- Use Google Maps satellite view to outline your yard to scale.
- Walk the yard with string and stakes to mark curves, boundaries, and tricky zones.
- Add details like existing sprinkler lines, trees, fences, slopes, and hardscapes.
- Don’t forget to mark drainage paths and utility lines if you know them.
This becomes your irrigation battle plan.
Step 2: Choose the Right Sprinkler Heads Based on GPM & PSI
Matching the wrong head to your pressure = chaos. Here’s the breakdown:
| Sprinkler Type | Best For | GPM Range | PSI Needed |
| Spray Heads | Small, precise odd areas | Low | 25-35 PSI |
| Rotary Nozzles | Slopes or clay soil | Low + efficient | 30-45 PSI |
| Rotors | Big, open spaces | High | 40-60 PSI |
If you’re not sure of your water pressure or flow rate, test it with a simple pressure gauge or 5-gallon bucket timer test. Here’s a deeper breakdown on balancing GPM and PSI in irregular setups.
Step 3: Don’t Ignore Strip Nozzles—They’re Your Best Friend in Tight Zones
Narrow side yards or median strips? Strip nozzles deliver clean coverage without waste.
- End Strip: Shoots in one direction from a tight edge.
- Center Strip: Sprays in two directions evenly.
- Side Strip: Covers narrow zones along fences or sidewalks.
Strip nozzles shine when you apply proper sprinkler head spacing tips—especially in tricky geometry where overlap isn’t intuitive.
Position these precisely to avoid overlap and puddles.
Step 4: Create Effective Zones—This is Critical for Irregular Lawns
Your goal is matched precipitation rates and balanced pressure. That means:
- Keep heads with similar GPM outputs and arc types in the same zone.
- Never mix rotors with sprays in one zone—they apply water at totally different rates.
Creating extra zones in weird-shaped areas might feel excessive, but it’s the only way to avoid under- or over-watering sections.
Make sure your sprinkler count per zone aligns with your water supply and pressure—odd layouts demand careful math.
Step 5: Layout Patterns That Actually Work for Irregular Shapes
Use the “Overlapping Arc” Strategy
Even in curves or odd edges, keep the spray pattern head-to-head:
- A 90° arc should just kiss the center of the next head.
- Along curves? Space them closer so arcs intersect fully.
Handle Internal Corners with Care
- Use partial-arc heads or corner nozzles to avoid overspray.
- Swing joints let you position heads exactly where they belong, even around roots or sidewalks.
Step 6: Master Obstacle Handling
Split Coverage Strategy
When a tree or pole blocks direct spray, install two small heads on either side, rather than trying to spray over it.
Use Bubblers or Drip Lines to Bypass
Dense plantings tight to patios or walls? Don’t even try traditional sprays. Install:
- Bubblers near tree roots
- Drip lines around beds
These eliminate overspray and soak deeply.
Swing Joints: Your Safety Net
Want to avoid cracked fittings near roots or rocks? Choose the best pipe type for odd layouts—flexibility matters here.
Heads near paths or trees must flex when bumped. Swing joints allow heads to move without breaking pipe connections.
Step 7: Handle Matched Precipitation Like a Pro
This one’s technical but crucial.
If you’re mixing arc types (half-circle + quarter + full) or head styles (spray vs rotor), you must match the precipitation rate. That means:
- A full-circle head must apply water at the same rate per square foot as a half-circle head.
- Use MPR-rated nozzles from the same manufacturer.
- Check their GPM charts to balance your system.
Otherwise, some spots drown while others stay thirsty.
Step 8: Manage Water Pressure Like a System Designer
I explore how smart design today sets water systems up for tomorrow, drawing from Water Pressure: Designing for the Future by Museum für Kunst und Gewerbe Hamburg (YouTube, May 17, 2024). Check for Video Below:
Odd-shaped layouts mean longer pipe runs, weird angles, and more fittings. That leads to friction loss.
What to do:
- Use larger diameter pipe to reduce pressure drop
- Split complex shapes into more zones
- Add inline pressure regulators to protect sensitive heads
Don’t guess here—low pressure kills coverage. Plan for it.
Step 9: Optimize With a Catch Can Test
Fancy term, simple test. Here’s how:
- Place catch cans or tuna cans around the weirdest parts of your zone.
- Run system for 20–30 minutes.
- Measure water depth in each can.
This reveals weak zones, overwatered spots, and areas needing adjustment.
Step 10: Think Ahead—Future Changes Happen
Your yard won’t look the same in five years. So:
- Avoid placing heads directly where future trees will grow.
- Plan zones that are easy to cap or re-route later.
- Leave some flexibility—drip lines or swing joints make this easier.
Step 11: Arc Adjustment Isn’t Optional—It’s a Skill
Install the right nozzle, then tune the arc manually. Most adjustable spray nozzles let you rotate with a flathead screwdriver.
- Too wide = overspray
- Too narrow = dry spots
Walk the yard while running the zone. Adjust until every edge just meets the next arc.
Bonus: When Should You Call a Pro?
DIY’s great, but if your lawn is:
- Sloped with multiple grades
- Packed with narrow planting beds and trees
- Combining sprays, rotors, and drip in one zone
…it might be worth the money to have a professional irrigation designer review your layout. Mistakes here = big water bills and patchy results.
Final Thoughts:
Getting sprinkler layout right on an odd-shaped lawn takes more time. But it saves thousands of gallons of water, lowers your bill, and gives your grass a lush, even finish.
It’s not just about looks. It’s about stewardship. Plan right, and your lawn—and wallet—will thank you.


